
개요
Next.js 가장 최신인 14 버전을 사용했고 Toast ui는 @toast-ui/react-editor 3.2.3 버전을 사용했습니다.
Toast ui 설치하기
Next.js로 모든 세팅이 끝난다는것을 가정하고 Toast ui를 설치하겠습니다.
https://www.npmjs.com/package/@toast-ui/react-editor
@toast-ui/react-editor
TOAST UI Editor for React. Latest version: 3.2.3, last published: a year ago. Start using @toast-ui/react-editor in your project by running `npm i @toast-ui/react-editor`. There are 37 other projects in the npm registry using @toast-ui/react-editor.
www.npmjs.com
해당 패키지를 사용해서 설치를 할 예정입니다.
npm i @toast-ui/react-editornpm을 통해 @toast-ui/react-editor 패키지를 설치해주었습니다.
설치를 할경우 오류가 저희들을 반겨줍니다.

해당 오류는 버전이 맞지 않아서 생긴 오류인데 @toast-ui/react-editor 와 react 버전이 맞지 않아서 발생하는 오류 입니다.
이럴때 사용할수 있는 방법이 2가지 존재하는데.
npm i @toast-ui/react-editor --force커맨드에 --force을 붙이거나
npm i @toast-ui/react-editor --legacy-peer-deps커맨드에 --legacy-peer-deps을 붙여주는겁니다.
2개의 차이점은
--force 는 필요한경우 패키지의 의존성을 위해 추가적인 패키지를 설치해서 충돌을 우회합니다.
--legacy-peer-deps 는 그냥 충돌을 무시하고 설치해줍니다.
저같은 경우는 --force로 설치해주었습니다.

그럼 문제없이 패키지가 설치된것을 확인할수 있습니다.
Toast ui 사용방법
@toast-ui/react-editor는 대표적으로 2가지의 컴포넌트를 가지고 있습니다.
Editor 와 Viewer
Editor는 작성할수있는 에디터를 불러와주는 컴포넌트입니다.
Editor 의 props는 Toast-ui의 참고하실수있습니다.
대표적으로 height, initialEditType, toolbarItem등 여러가지가 존재합니다.
<Editor
  height="100%"
  hideModeSwitch={true}
  initialEditType="wysiwyg"
  toolbarItems={
    [
      ['heading', 'bold'],
      ['ul', 'ol'],
      ['code', 'codeblock'],
    ]
  }
/>저는 이렇게 props을 전달해줬습니다.
https://nhn.github.io/tui.editor/latest/
https://nhn.github.io/tui.editor/latest/
🚩 Table of Contents Collect Statistics on the Use of Open Source TOAST UI products apply Google Analytics (GA) to collect statistics on the use of open source, in order to identify how widely TOAST UI Editor is used throughout the world. It also serves
nhn.github.io
여기서 여러가지 설정을 확인하실수 있고
https://github.com/nhn/tui.editor/blob/master/docs/ko/toolbar.md
tui.editor/docs/ko/toolbar.md at master · nhn/tui.editor
🍞📝 Markdown WYSIWYG Editor. GFM Standard + Chart & UML Extensible. - nhn/tui.editor
github.com
툴바 같은경우 여기에 한국어로 잘 정리가 되어있습니다.

적용되었을경우 해당 화면처럼 나오게 됩니다.
에디터에 작성한글을 HTML로 가져와서 서버에 요청을 보내봅시다
  const editorRef = useRef<Editor>(null);
  const [getContent, setGetContent] = useState("");

  const onSubmit : FormEventHandler<HTMLFormElement> = (event)=>{
    event.preventDefault();

    const content = editorRef.current?.getInstance().getHTML();

    setGetContent(content);

  }

  return (
    <main className="h-screen flex flex-col gap-9 items-center justify-center">
      <form onSubmit={onSubmit} className="text-center">
        <h2 className="text-center text-2xl">Toast ui</h2>
        <div className="bg-white h-[500px] w-[750px] mt-9 text-left">
          <Editor
            ref={editorRef}
            height="100%"
            hideModeSwitch={true}
            initialEditType="wysiwyg"
            initialValue=" "
            toolbarItems={
              [
                ['heading', 'bold'],
                ['ul', 'ol'],
                ['code', 'codeblock'],
              ]
            }
          />
        </div>
        <button type="submit" className="text-base bg-black text-white py-2 px-5 rounded-full mt-9">서버에 전달</button>
      </form>
      <p>출력된 HTML</p>
      {getContent}
    </main>
);ref을 이용해서 Editor을 가져와주고 getInstance() 을 사용해서 Editor의 인스턴스를 가져옵니다.
해당 인스턴스에는 여러가지 메서드들이 존재하는데 그 중 getHTML() 을 사용하면 작성한 내용을 html로 가져와줍니다.

이렇게 작성한 내용이 HTML 문법으로 변환된것을 볼수있습니다.
이것을 DB에 저장을 하거나 사용하시는 상태관리 라이브러리를 사용하면 되겠죠?
저는 화면에 보여주기 위해서 잠시 state을 이용해서 화면에 출력해줬습니다.
Viewer로 작성한 내용 가져오기
Viewer는 그냥 Editor의 내용을 그대로 가져오는것뿐입니다.
<div className="mt-28">
    <h2 className="text-center text-2xl">Toast ui - Viewer</h2>
    <div className="bg-white h-[500px] w-[750px] mt-9 text-left border border-[#ddd]">
      <Viewer
        height="100%"
      />
    </div>
</div>
이렇게 View가 들어갈 부분을 만들어주고 initialValue을 통해 가져온 데이터를 넣어주면 끝입니다.
<div className="mt-28">
    <h2 className="text-center text-2xl">Toast ui - Viewer</h2>
    <div className="bg-white h-[500px] w-[750px] mt-9 text-left border border-[#ddd]">
      <Viewer
        height="100%"
        initialValue={getContent}
      />
    </div>
</div>
근데 어째서인지 처음 접속할때 가져오는건 문제가 없지만 페이지가 이동되거나 content 내용을 변경했을때 재랜더링이 되지 않는 문제가 있어 initialValue 말고 다른 방법을 넣는게 좋을것 같습니다.
이럴때 사용할것이 Editor와 동일하게 ref을 이용해서 인스턴스를 가져와줍니다.
그리고 setMarkdown()을 이용해서 HTML을 넣어주면 됩니다.
useEffect(()=>{
    viewerRef.current?.getInstance().setMarkdown(getContent);
},[getContent])

<div className="mt-28">
    <h2 className="text-center text-2xl">Toast ui - Viewer</h2>
    <div className="bg-white h-[500px] w-[750px] mt-9 text-left border border-[#ddd]">
      <Viewer
        ref={viewerRef}
        height="100%"
        initialValue={getContent}
      />
    </div>
</div>

그러면 이렇게 Editor에 넣은 내용이
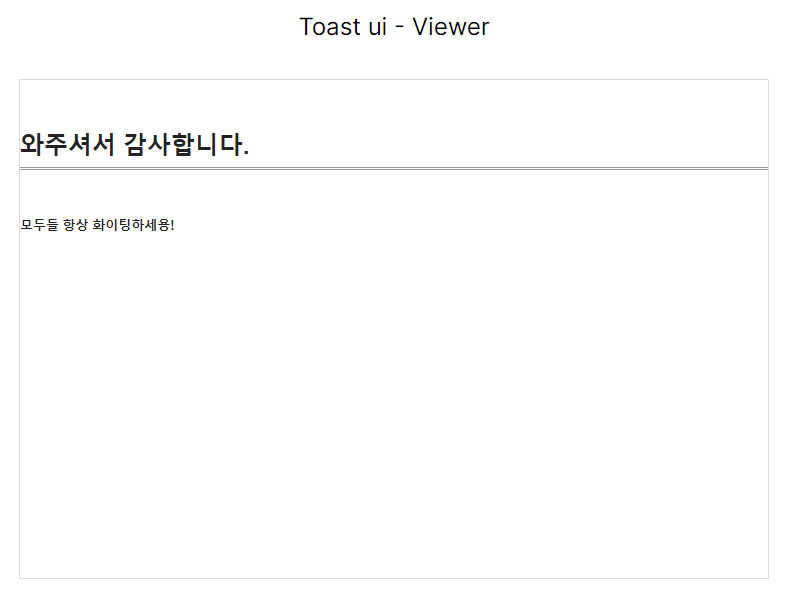
Viewer에 그대로 적용되는것을 볼수 있습니다.
참고자료
https://nhn.github.io/tui.editor/latest/
https://nhn.github.io/tui.editor/latest/
🚩 Table of Contents Collect Statistics on the Use of Open Source TOAST UI products apply Google Analytics (GA) to collect statistics on the use of open source, in order to identify how widely TOAST UI Editor is used throughout the world. It also serves
nhn.github.io
https://www.npmjs.com/package/@toast-ui/react-editor
@toast-ui/react-editor
TOAST UI Editor for React. Latest version: 3.2.3, last published: a year ago. Start using @toast-ui/react-editor in your project by running `npm i @toast-ui/react-editor`. There are 37 other projects in the npm registry using @toast-ui/react-editor.
www.npmjs.com
https://github.com/nhn/tui.editor
GitHub - nhn/tui.editor: 🍞📝 Markdown WYSIWYG Editor. GFM Standard + Chart & UML Extensible.
🍞📝 Markdown WYSIWYG Editor. GFM Standard + Chart & UML Extensible. - nhn/tui.editor
github.com
'Next.js' 카테고리의 다른 글
| Next.js에서 SVG를 컴포넌트로 불러오기 (0) | 2024.06.19 |
|---|---|
| Next-auth을 이용해서 카카오 로그인을 만들어보자 (0) | 2024.06.06 |
| Next.js에서 Recoil은 어떻게 사용해야할까? (0) | 2024.05.24 |
| Next.js에서 styled-components을 사용해보자 (0) | 2024.05.24 |